
I recently switched server hosting and whilst rebuilding, I decided to optimize my setup by switching my web server exclusively to Nginx. The challenge was getting WordPress to work with the new set up.
The majority of independent guides for setting up WordPress will recommend using Apache as the web server software (WordPress’s official documentation, however, tends to favour Nginx), and whilst that’s solid advice – Apache’s been the de-facto standard in web hosting for a very long time – there are a few reasons you may want to switch to Nginx which mainly boil down to speed and how lightweight the process is.
Personally, I had been hosting using Apache since launching the first site under the OP-EZY banner. The last rebuild was a horrible mess of mixing Nginx and Apache on the same server – with Nginx handling the SSL handoff and displaying holding pages, and Apache doing the majority of the work mainly for its PHP plugin libraries. I later was involved in some work at my job to migrate a similar platform to a LEMP stack (Linux, Nginx, MySQL, PHP) but never really gotten around to replicate that set up on my own servers.
As a bit of a pre-warning, this is a bit of an advanced guide as it’s focused on setting up a server using only command line tools, I feel this is one of the best ways to learn exactly what your server is doing under the hood.
Whilst this guide should work for any Linux based web server, I’m going to focus on using Ubuntu Server Edition (specifically, the 18.04 LTS release – code named Bionic Beaver) as it has newer versions of packages available for it in its repositories.
Installing your base LEMP stack
To begin with, we’ll need a server. For those playing along at home, I’d highly suggest using Vagrant to spin up a local virtual machine to test your setup. Once you have that installed, you can spin up an Ubuntu box:
$ vagrant init ubuntu/bionic64
You should then uncomment the following line to the Vagrantfile that is generated:
config.vm.network "forwarded_port", guest: 80, host: 8080, host_ip: "127.0.0.1"
Finally, start up your virtual machine:
$ vagrant up
Once you have your server up and running, you can access the termainal using ssh:
$ vagrant ssh
You should first apply any updates to ensure your server is up to date:
$ sudo apt update && sudo apt dist-upgrade
Next, you’re going to need to install the rest of the stack. For this, we’re going to install Nginx, PHP, and MariaDB
$ sudo apt install nginx php-fpm php-mysql php-imagick php-curl mariadb-server mariadb-client
At this point, you should be able to open your web browser and access the test page (http://localhost:8080 if you’re using the Vagrant instructions above)
The Nginx test page
Configuring your server
Securing your code
Now we’re going to prepare your server for your new WordPress installation. Firstly, we’re going to create a new user whos purpose is to own the WordPress code. This isn’t strictly necessary, but if you’re planning on hosting multiple sites on your server, it’s a good idea to restrict how much of the underlying operating system can be accessed by your code.
$ sudo useradd wordpress
By using the useradd command, we’re creating a user without a NULL password (which disables the ability to log in) and has no home directory.
After doing this, we need to create a php-fpm pool for WordPress. To do this, use your favourite text editor (I’m going to use vim) to create a config file.
$ sudo vim /etc/php/7.2/fpm/pools.d/wordpress.conf
Inside the file, put the following configuration in place.
[wordpress]
user = wordpress
group = wordpress
listen = /var/run/php7.2-fpm-wordpress.sock
listen.owner = www-data
listen.group = www-data
php_admin_value[disable_functions] = exec,passthru,shell_exec,system
php_admin_flag[allow_url_fopen] = off
pm = dynamic
pm.max_children = 5
pm.start_servers = 2
pm.min_spare_servers = 1
pm.max_spare_servers = 3
chdir = /
A restart of PHP-FPM will apply the changes
$ sudo systemctl restart php7.2-fpm
Nginx
Now we have PHP configured to generate content from WordPress, we’ll need to configure Nginx to serve that content at the user’s request.
Firstly, we want to add some extra settings to Nginx to handle our logging file format, as well as add caching to speed up repeated requests to PHP-FPM
$ sudo vim /etc/nginx/conf.d/custom.conf
In here we want to add the following content:
        log_format  main  '$remote_addr - $remote_user [$time_local] "$request" '
                          '$status $body_bytes_sent "$http_referer" '
                          '"$http_user_agent" "$http_x_forwarded_for"';

        fastcgi_cache_path /var/cache/nginxfastcgi levels=1:2 keys_zone=phpcache:100m inactive=60m;
        fastcgi_cache_key "$scheme$request_method$host$request_uri";
Once this is in place, we can create our site config.
$ sudo vim /etc/nginx/sites-available/wordpress
Adding the following code
server {

       listen        80;
       listen        [::]:80;
       server_name   localhost; # For our Vagrant test, this will be fine

       access_log    /var/log/nginx/wordpress_access.log main;
       error_log     /var/log/nginx/wordpress_error.log error;

       index index.html index.htm index.php;

       root /var/www/wordpress/;

        location ~ \.php$ {
               try_files $uri =404;

               fastcgi_cache phpcache; # The name of the cache key-zone to use
               fastcgi_cache_valid 200 30m; # What to cache: 'Code 200' responses, for half an hour
               fastcgi_cache_methods GET HEAD; # What to cache: only GET and HEAD requests (not POST)
               add_header X-Fastcgi-Cache $upstream_cache_status; # Add header so we can see if the cache hits or misses

               fastcgi_split_path_info ^(.+\.php)(/.+)$;
               fastcgi_pass unix:/var/run/php7.2-fpm-wordpress.sock; # The socket we set up in PHP-FPM
               fastcgi_index index.php;
               fastcgi_param SCRIPT_FILENAME $document_root$fastcgi_script_name;
               include fastcgi_params;
       }

       location / {
               try_files $uri $uri/ =404;
               if (!-e $request_filename){
                       rewrite ^/(.*)$ /index.php last; # This is required for the custom URL patterns which historically would have been handled by an .htaccess file under Apache
               }
       }
}
Some things to note, this guide is based on the assumption that you’re using Vagrant with the settings outlined above, please tweak as necessary. We’re also using Port 80 here (which we’ve set to forward to port 8080 in Vagrant), setting up HTTPS is beyond the scope of this guide.
After saving this, you need to enable the site. We do this by creating a symbolic link to the site configuration in the sites-enabled directory.
$ sudo ln -s /etc/nginx/sites-available/wordpress /etc/nginx/sites-enabled/wordpress
You can now restart Nginx to apply the settings.
$ sudo systemctl restart nginx
Database
WordPress requires a database, we’ve installed MariaDB, so we’ll need to go ahead and configure that ready for WordPress. After a clean install of MariaDB (or MySQL) an initial setup is required:
$ sudo mysql_secure_installation
Accept the defaults here. We can now use the MySQL command line interpreter to access the database server.
$ sudo mysql
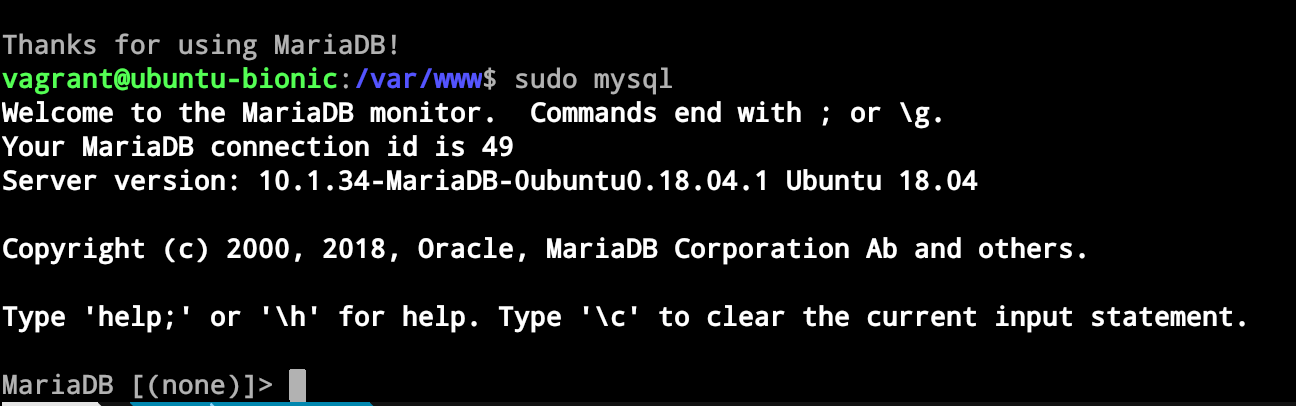
The MariaDB command line interface.
We will want a blank database, and a local user with full permissions to *only* that database:
MariaDB [(none)]> CREATE DATABASE wordpress;
Query OK, 1 row affected (0.00 sec)

MariaDB [(none)]> CREATE USER 'wordpress'@'localhost' IDENTIFIED BY '28tb5SmJ9ARKY5PByKOc';
Query OK, 0 rows affected (0.00 sec)

MariaDB [(none)]> GRANT ALL PRIVILEGES ON wordpress.* TO 'wordpress'@'localhost';
Query OK, 0 rows affected (0.00 sec)

MariaDB [(none)]> FLUSH PRIVILEGES;
Query OK, 0 rows affected (0.00 sec)

MariaDB [(none)]>
Installing WordPress
Now we want to get the latest WordPress code, extract it and give it to the wordpress user:
$ sudo wget https://wordpress.org/latest.tar.gz
$ sudo tar xzf latest.tar.gz -C /var/www/
$ sudo chown -R wordpress:www-data /var/www/wordpress
If all has gone well, you can now go to your web browser and finish the WordPress installation.
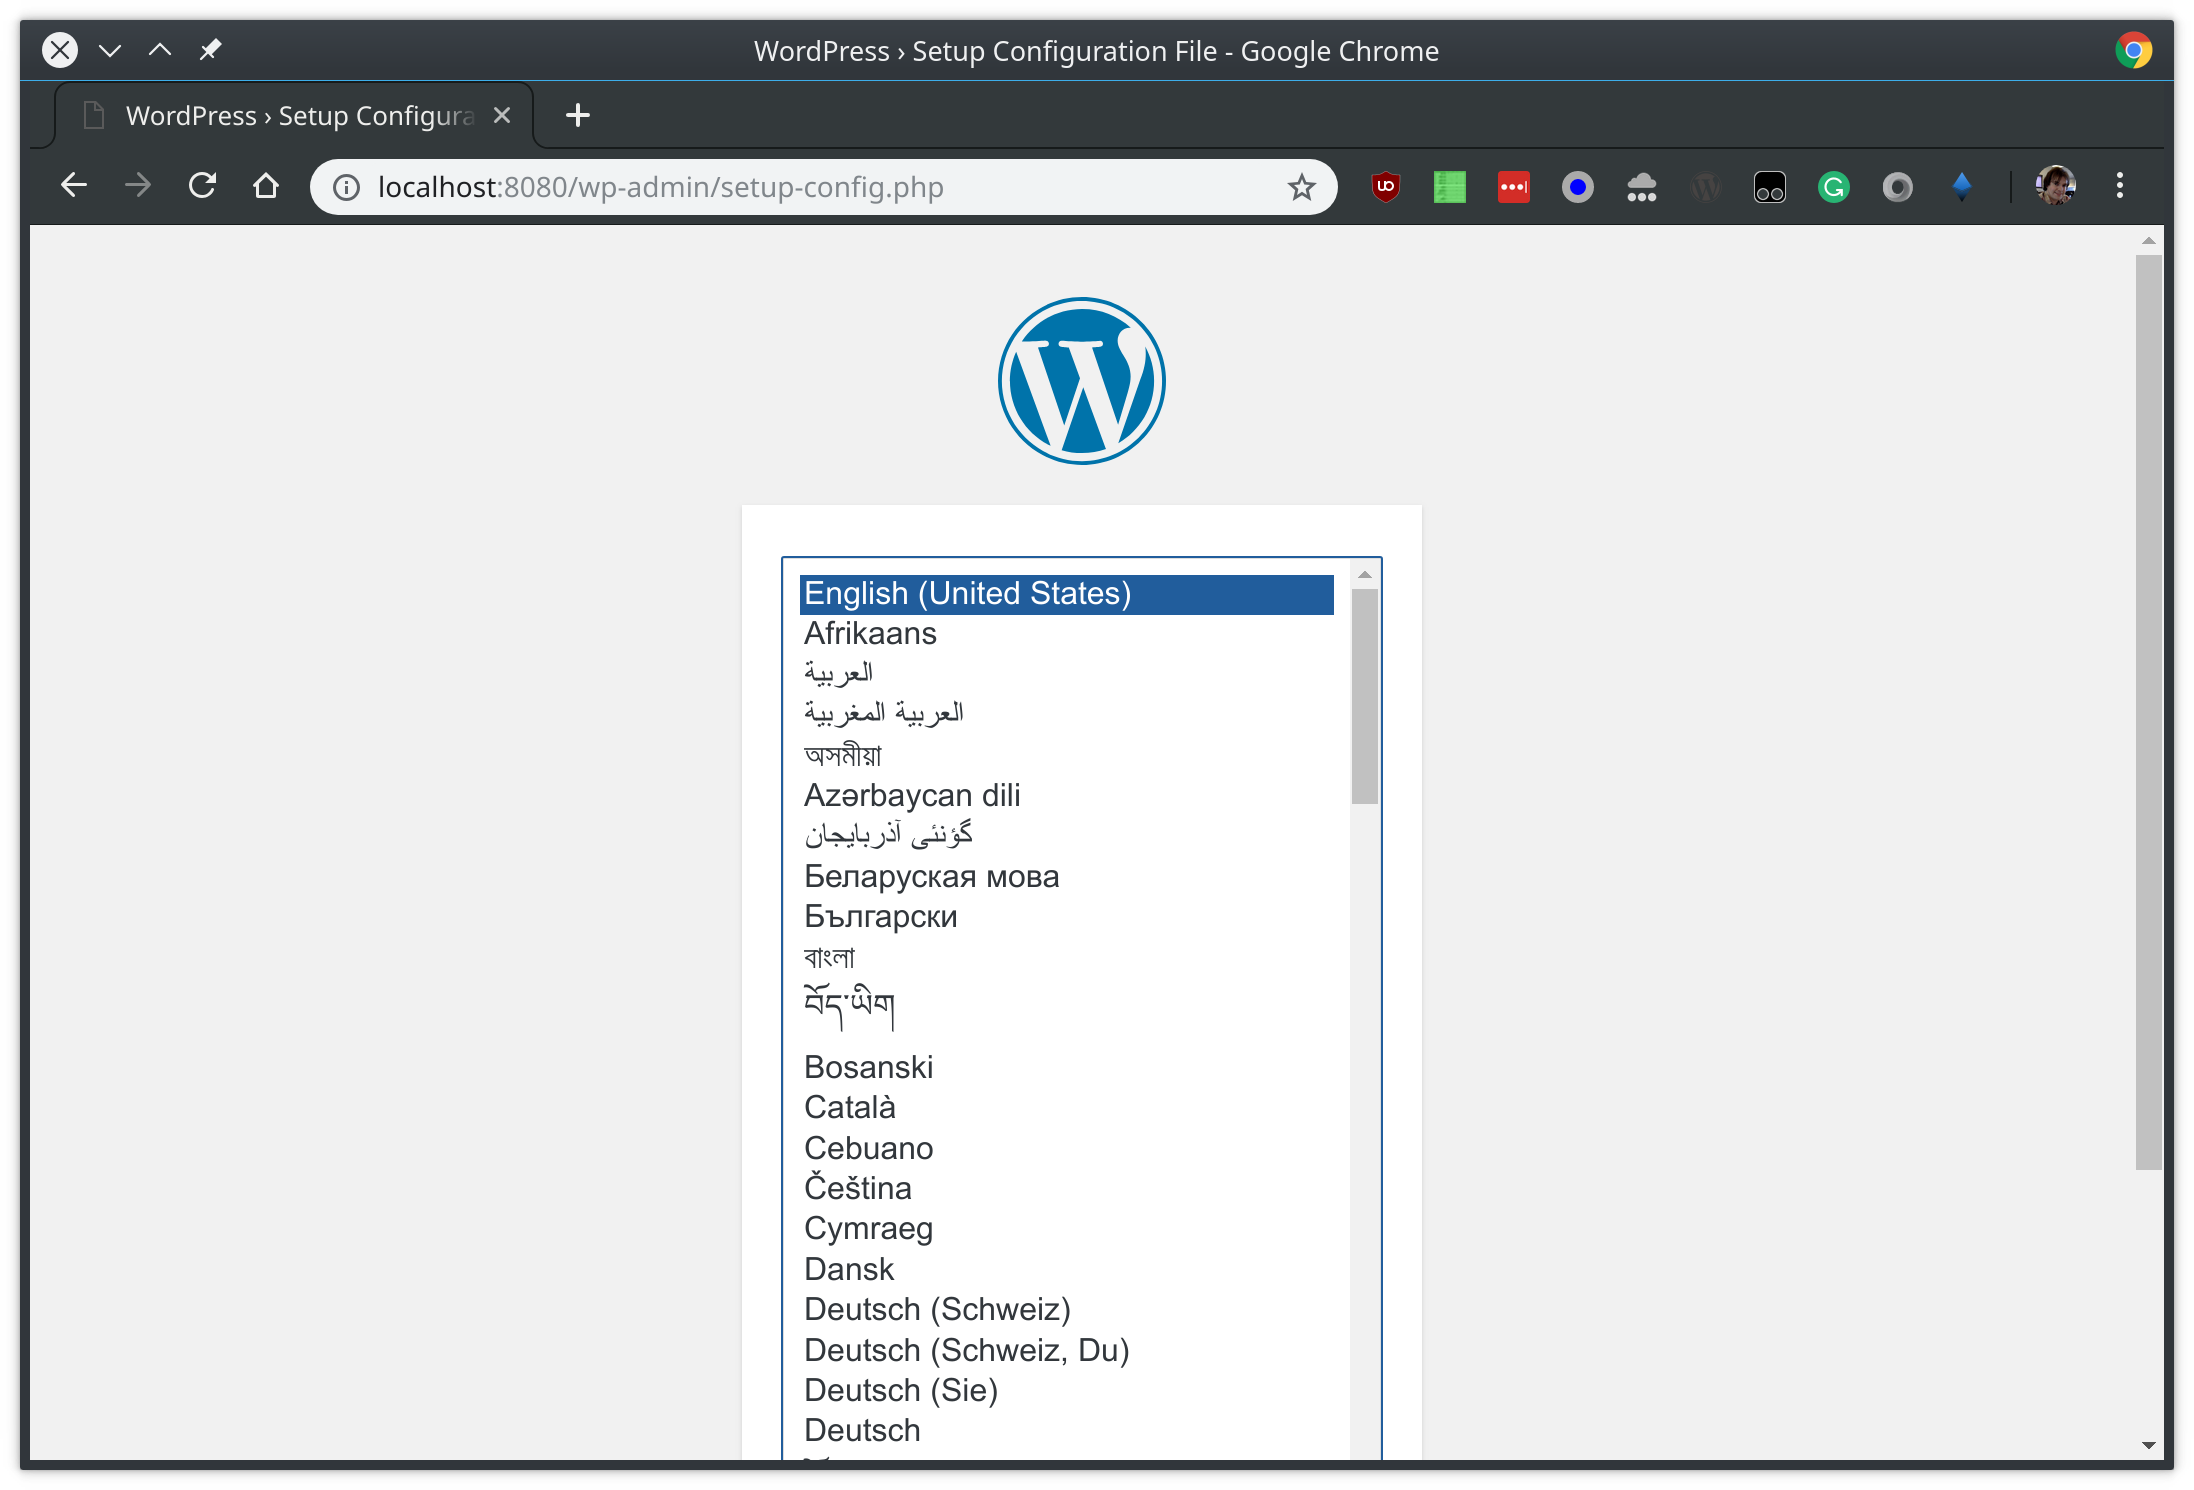
The language selection screen for a new WordPress install
Just follow the simple step by step instructions, and in no time, you should be able to start hosting your own content.
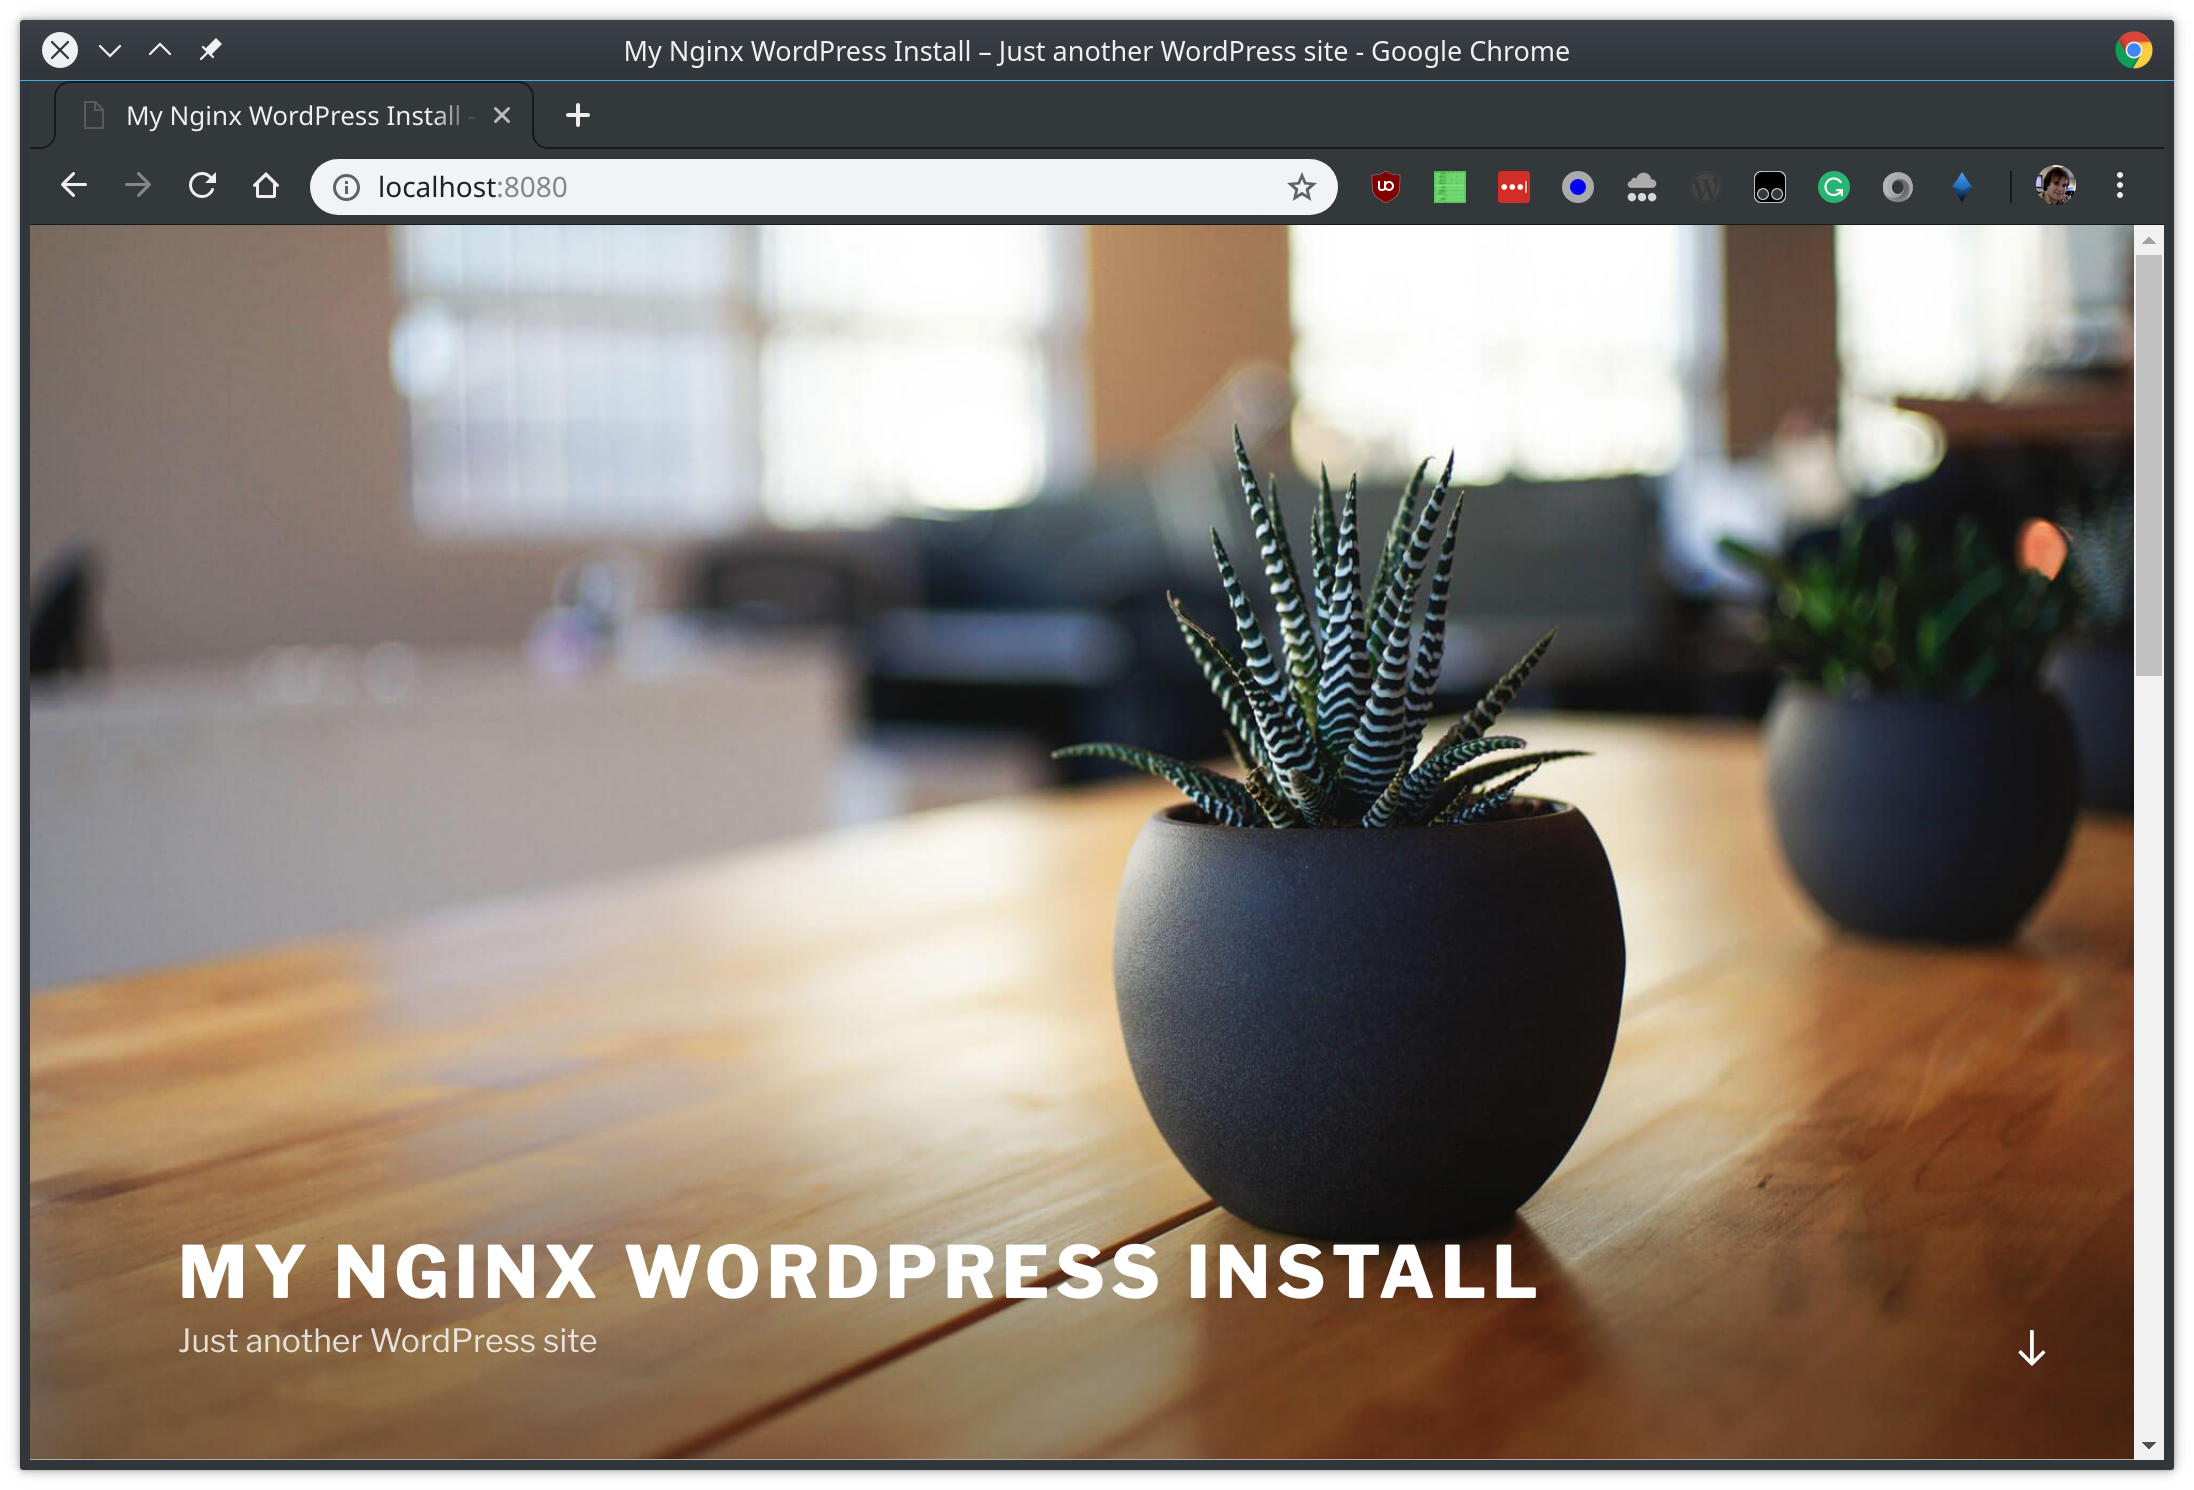
Just Another WordPress Site. The new WordPress installation is ready.
Conclusion
So there we have it, a fully functional WordPress install on a LEMP stack. There are a few things this guide doesn’t go into, such as HTTPS, HTTP/2, or Automatic Updates. But it’s a good starting block to hosting your own website on modern hosting solutions. By doing everything from the command line, we also get to see and explore the inner workings of a Linux system.
Whether you set are using this guide to get your own website online, or just curious into how to set up a web server, I hope it gives a greater understanding of how a Linux based web server works.
Happy blogging!
Cheers.