
Running sites through a front end proxy is becoming standard practice in the IT industry as it adds both an extra layer of security, as well as flexibility when it comes to where your traffic is directed. One such example is the ability to give your users something to look at when your site is down for maintenance.
Today, we’re going to look at setting up Nginx in a way we can apply a maintenance page when we need to take our site(s) offline without needing to modify any config files. This has the benefit of not requiring Nginx to be restarted to apply, which is useful when dealing with multiple vhosts, as well as allowing automated tools such as Puppet to continue to run without the risk of your site coming back online mid surgery.
Side note: This article won’t go in to detail of setting up puppet, but will show what you need to get your automation software to generate. If you’re looking for a Puppet module capable of generating these kind of configs, I personally recommend James Fryman’s Nginx Puppet module.
In this example, we will be setting up the front end server for A1 Company Ltd. to allow them to be able to take their site offline whist updating their backend infrastructure.
What we want is for Nginx to detect the presence of a file and, if it exists, to take the whole site offline and replace it with our maintenance page. The whole set up will make use of just one if statement defined at the server level of the site’s Nginx config, which is ok to do according to the well known Nginx wiki article IfIsEvil.
On our server, we’re going to set up the following directory structure:
/var/www/
/var/www/a1-company/
/var/www/maintenance/
/var/www/maintenance/a1-company/
We’re then going to create a simple page for our maintenance page. In reality it can be as complicated as you like, but it’s important that all assets are in the same file, so this means all CSS and imaged need to be embedded into the html file (usually using base64 encryption).
Down for maintenance, back soon
A1 Company Ltd. is currently undergoing some essential maintenance, please try again later.
In this case we’re keeping it simple. We’re going to save this in the following location:
/var/www/maintenance/a1-company/backsoon.html
Ordinarily, the company’s main website would be hosted on another server, and Nginx would upstream connections to it, but for the purpose of this example we’ll just host it locally in the following location.
/var/www/a1-company/
Now we’re going to configure Nginx, first we’ll start with the server section:
server {

listen                *:80;
server_name .a1-company.com;
if (-f $document_root/maintenance.html) {
return 526;
}
# Catch error 526, use @maintenance named location, and set HTTP code to 503 (can also be set to 200)
error_page 526 =503 @maintenance;
access_log /var/log/nginx/a1-company_public_access.log main;
error_log /var/log/nginx/a1-company_public_error.log;
root /var/www/a1-company;
Here we have that one if statement. What it does is look for a file called “maintenance.html” (which we’ll call our trigger file) in the document root of the site (in this case /var/www/a1-company/), and if such a file exists, return the error code 526. 526 is a non-existent, custom error code. The reason for this become apparent on the next line, where nginx is told to catch any 526 error, and convert it to a 503 error, and to load the content from a named location, in this case, @maintenance. If you have monitoring software in place to monitor the uptime of your site, a 503 error will most likely set that off. To avoid this, the error_page code could be changed to convert the 526 code into a 200. The issue with this is that if a search engine is crawling the site, the error page will be indexed unless there’s a meta tag in the HTML code telling the crawler to ignore the page. Finally, we’re telling Nginx that this host’s files are located at “/var/www/a1-company”, in practice, this is where Nginx will look for the trigger file.
Next, the locations:
location @maintenance {
rewrite ^(.*)$ /backsoon.html break;
root /var/www/maintenance/a1-company/;
index backsoon.html;
}
Firstly, we define the @maintenance location, we’re rewriting the URL to remove the file name of the maintenance page we created above. Next, we tell Nginx where the maintenance page is located, in this case, “/var/www/maintenance/a1-company/”, and finally, the filename “backsoon.html”.
  location ^~ / {

    index  index.html index.htm;

  }

}
The last section is where we define normal operations in a location which matches any URL, in our example, we’re looking for an index file in the document root we defined at the server level, but in most cases, you’d be defining a proxy using the proxy_pass statements. Here, we’re also terminating the server block (defined by the final } ).
Now, lets view this in action:
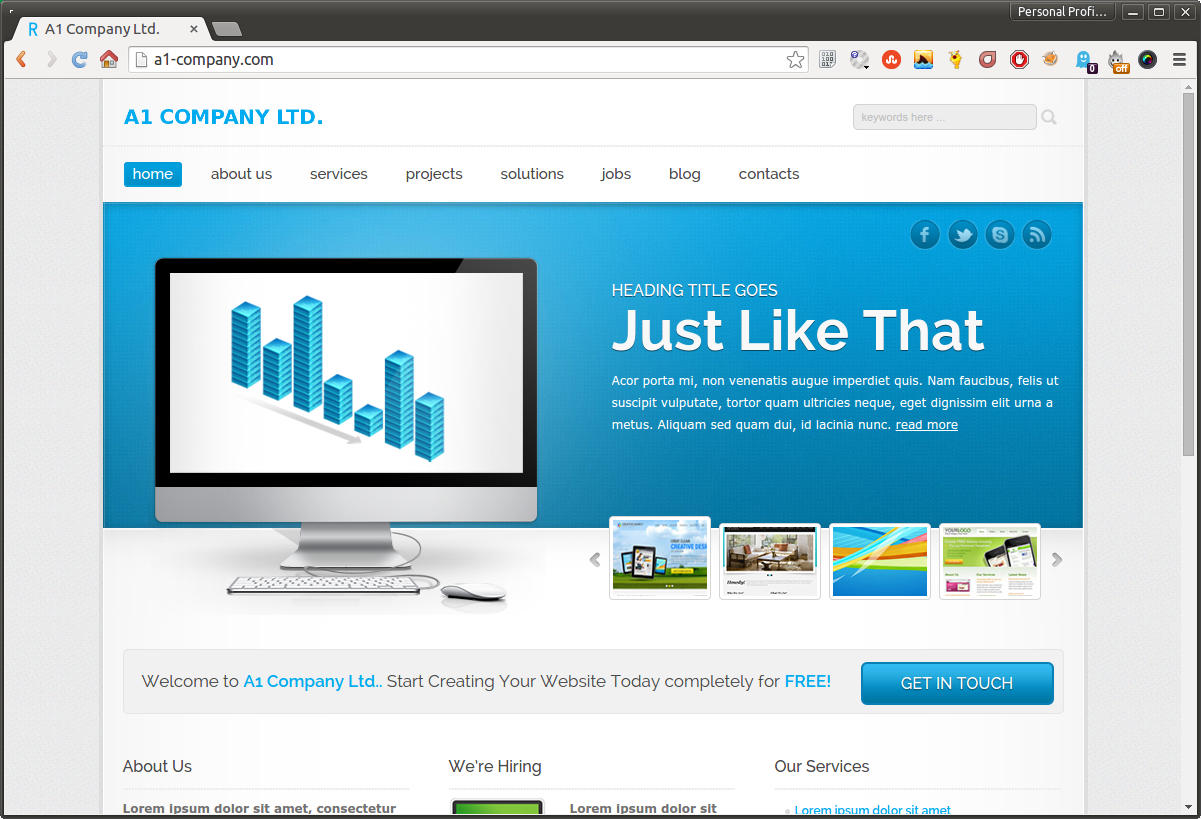
The A1 Company website open for business.
To take the site offline, we simply need the “maintenance.html” file to exist:
touch /var/www/a1-company/maintenance.html
Now when we refresh the page, we get the following:
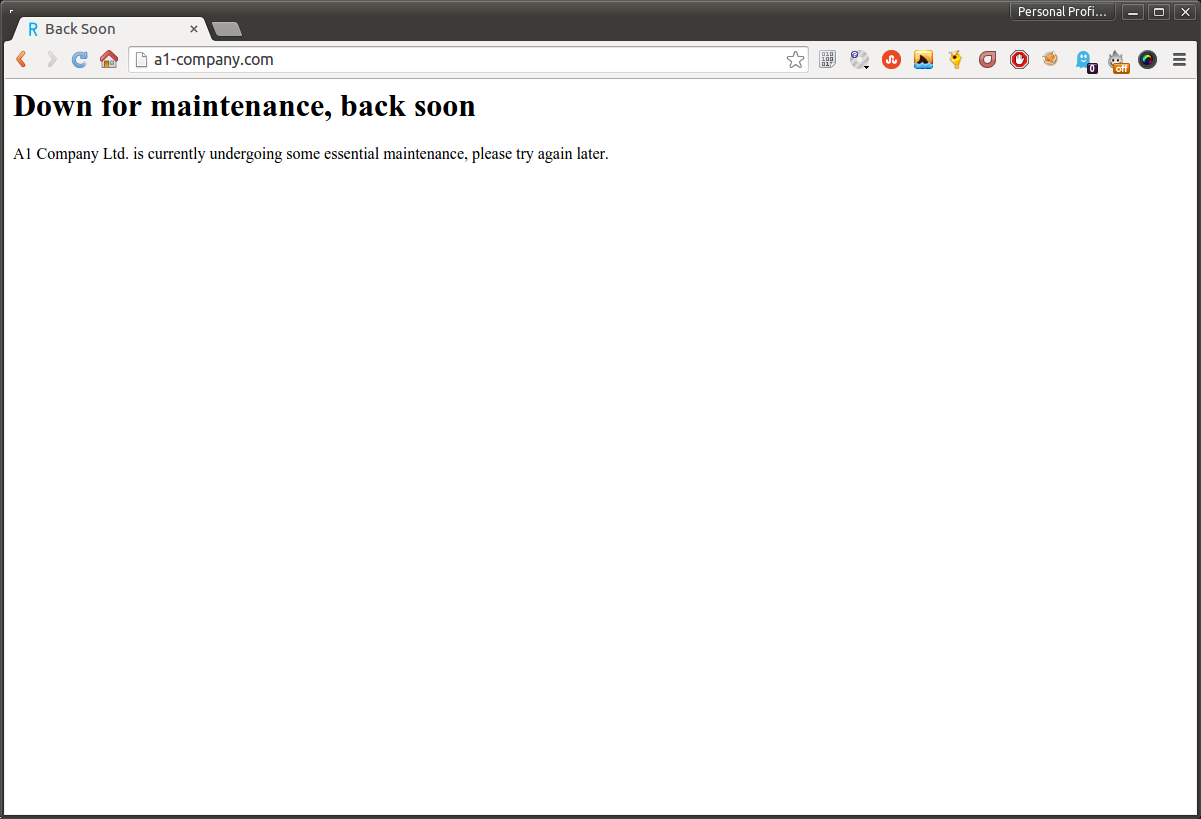
The site taken down for maintenance.
Putting the site back online is just as easy:
rm /var/www/a1-company/maintenance.html
That pretty much sums up how to set up maintenance pages without interfering with your automation set up or needing to restart Nginx. For anyone wondering, A1 Company’s website is using the “Retina” template from ChocoTemplates.
If anyone has any other Nginx tips, or can improve on the guide above, feel free to leave a comment.
Cheers