For system administrators who’ve been in the Microsoft Azure world for a while will undoubtedly be frustrated how Microsoft offers no less than four ways (that spring to mind) to administer your Azure account, and how each of these methods lack features that are in the others. To take full advantage of the Windows Azure platform, you need access to as many of the administrative tools as possible.
Two of the methods work cross platform, they are the newer Web Portal, and the Cross Platform Command Line Interface. Sadly, the new web portal is still lacking some features that were in the older version (which relies on Silverlight – not an issue if you’re running Windows or Mac OS X, but a Linux user will have issues). But the most powerful tool available to manage your cloud services and machines is the Powershell cmdlets.
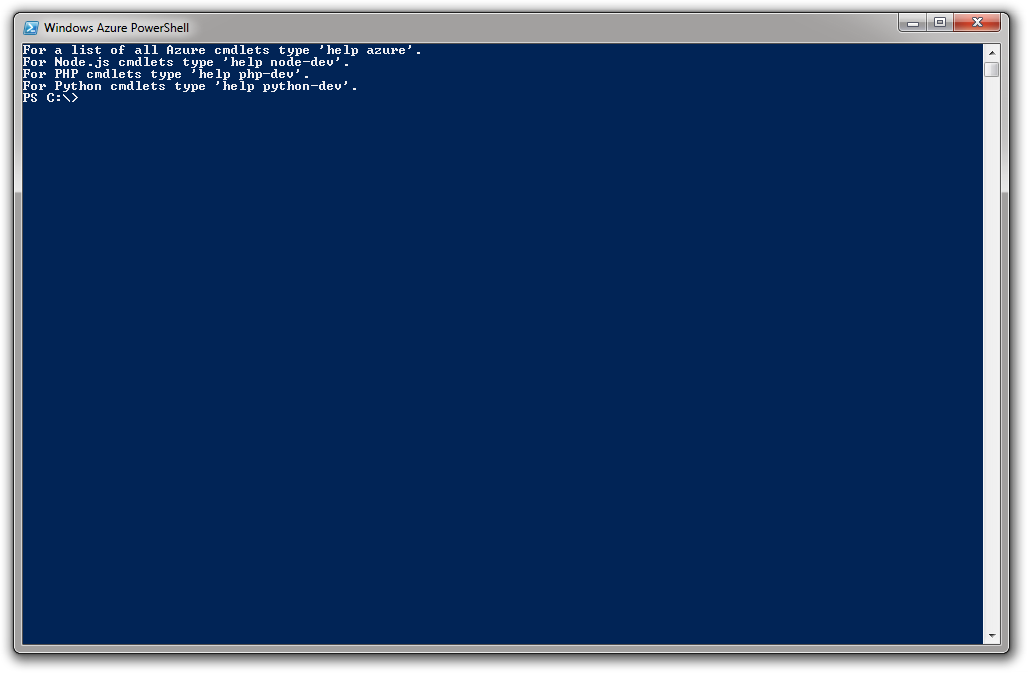
Windows PowerShell with the Azure cmdlets installed.
The problem here is that Powershell is only available on Windows, which currently isn’t a problem for me, as my workstation is running Windows 7, but in a few weeks that’s getting replaced with a MacBook Air. The traditional methods of using Azure Powershell on non-windows systems is to either use a Virtual Machine, a second workstation, or a remote Windows system with RDP access. These solutions are a bit bulky, and I figured there must be a way to make this a little more streamlined. After a bit of research, I think I’ve come up with a slightly better solution.
We going to need the following:
- A copy of Windows (Vista, 7, 8, Server 2008, 2008 R2, or 2012)
- Virtual Machine software (I’m using VirtualBox) or a remote machine (heck, you could build a server in Azure if you want!)
- Powershell 3.0
- The Azure Powershell cmdlets
- PowerShell Server by /n Software – the Special Sauce
You’ll also need the following script:
set-location 'C:\Program Files (x86)\Microsoft SDKs\Windows Azure\PowerShell\Azure\'

Import-Module .\Azure.psd1

Get-Content .\welcome.txt

set-location 'C:\'
Save this as “azure.ps1”. I have it saved in my Documents folder for easy access. The script will apply the Azure cmdlets to your Powershell.
On my system, Azure cmdlets welcome message is called WelcomeMessage.txt rather than just welcome.txt though new installations use welcome.txt. This line isn’t strictly necessary though, as it displays the following text and can be omitted:
For a list of all Azure cmdlets type ‘help azure’.
For Node.js cmdlets type ‘help node-dev’.
For PHP cmdlets type ‘help php-dev’.
For Python cmdlets type ‘help python-dev’.
Firstly you’ll need to install Windows. As mentioned earlier, I’m using VirtualBox, but this machine can be anywhere, including a virtual machine on Azure itself. Once that’s installed, you’ll need to update Powershell to version 3.0 and install the Azure Powershell cmdlets.
Now, you’ll need to install PowerShell Server. /n Software provide a free version for one user (which is all we need really, but if you’re going to upscale this for your whole SysOps team, then they also do business licences which will allow multiple concurrent connections.) I did look at other solutions such as FreeSSHd and OpenSSH with Cygwin, but they were much more limited. For instance piping Powershell through FreeSSHd restricted you to an 80×24 box in the top corner of the terminal with no scroll back, and using OpenSSH with Cygwin wouldn’t even allow you to run commands.

The configuration window for PowerShell Server
Once this is installed, go to the PowerShell Server dialogue box and go to the “Other” tab. Here change the Idle Session Timeout setting to 0. This will allow you to not have to worry about having to reconnect to your Powershell every time you want to use it. You can now start the service from the PowerShell Server dialogue box. Now pop across to your Non-Windows machine, and use SSH to connect to your Windows box.
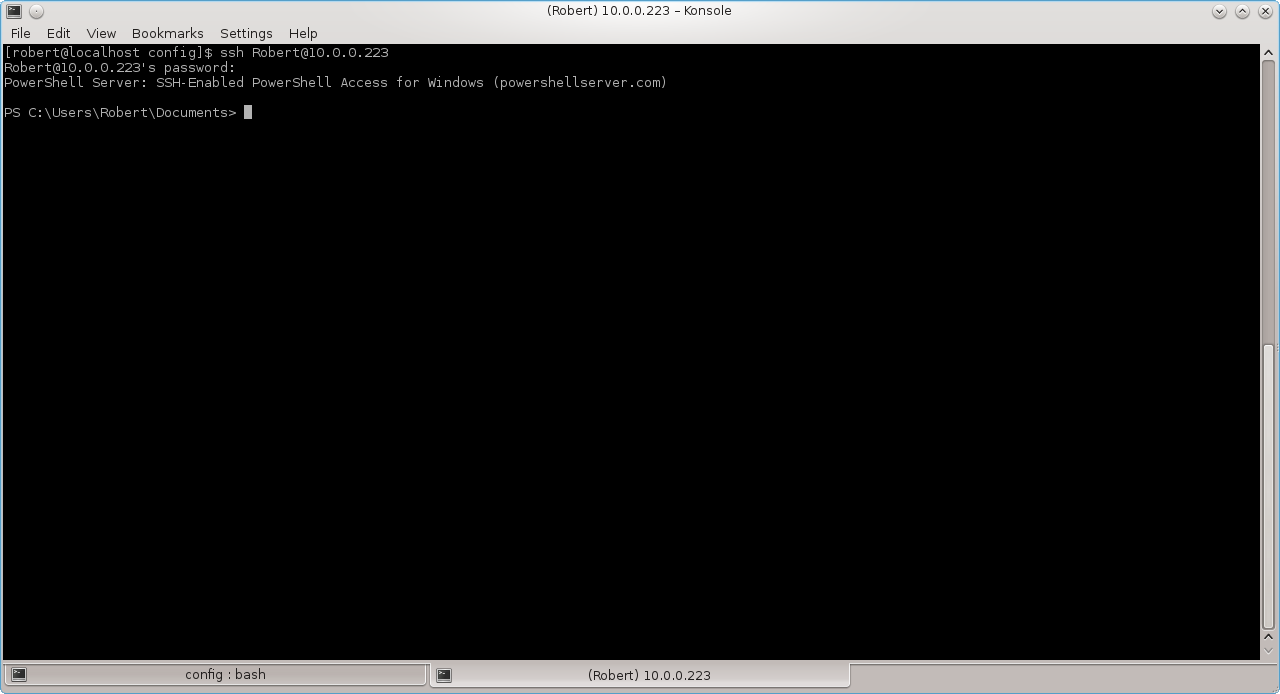
Connected to Powershell over SSH
Of course, this doesn’t quite have the same feel to what you’d be used to on your Windows box, so you might want to change the colours of your terminal accordingly:
Background colour: #012456 (Red: 1, Green: 36, Blue:86)
Text colour: #EEEDF0 (Red: 238, Green: 237, Blue: 240)
Once you’re connected to your Powershell, run the script above to import the Azure cmdlets. The first time you run this, you’ll need to run the following in your Powershell to allow script execution:
Set-ExecutionPolicy Unrestricted
After running the script, you’ll need to run the following command to get the Verbose messages to display (you’ll need to run this every time you log into the Powershell):
$VerbosePreference="Continue"
Now you should be able manage your Azure account in a more natural environment.
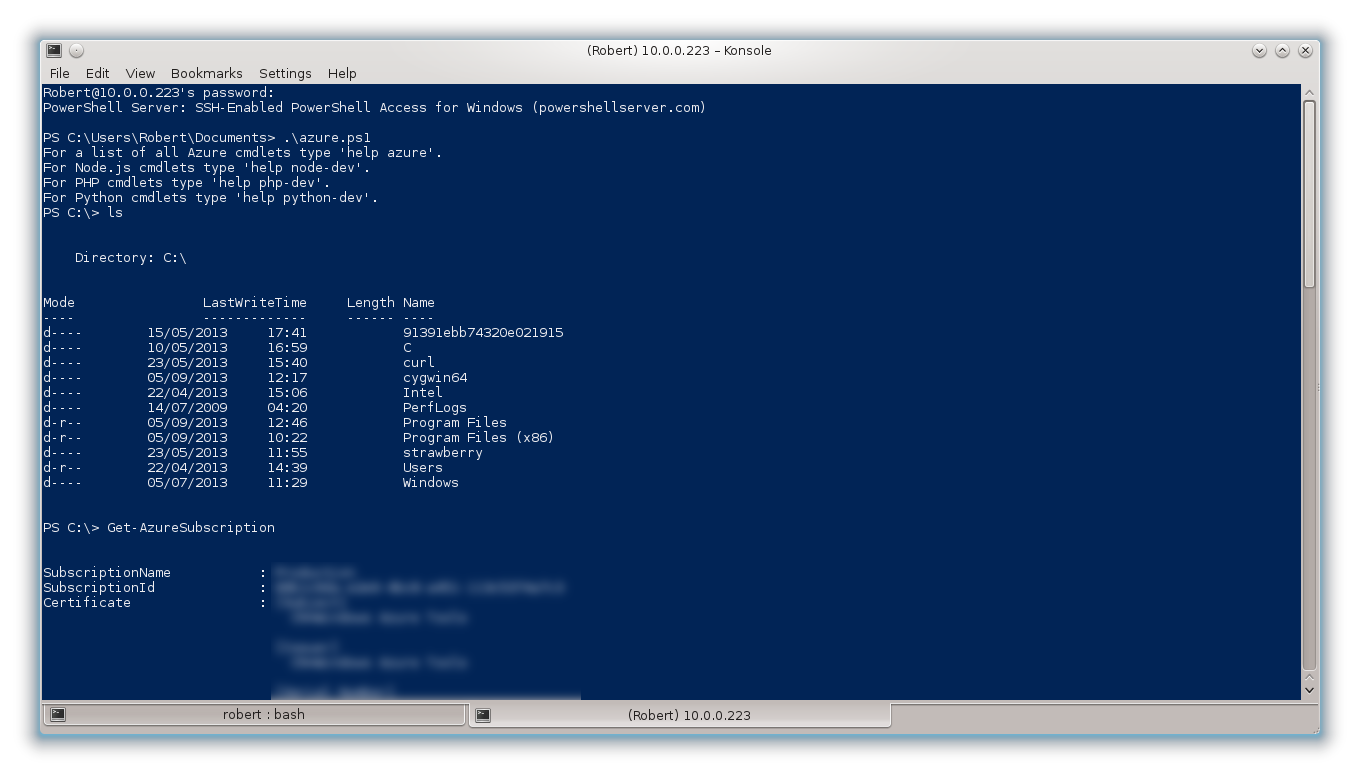
The Azure Powershell viewed on KDE’s Konsole application.
The method used to connect to the Powershell server can be integrated to be more seamless. For example, on KDE’s Konsole program, you can create new profiles which allow you to change which type of shell you want (usually it’s /bin/bash), you can set this to any command you want, and in this case, I’ve set mine to the SSH command used to connect to the Powershell server.
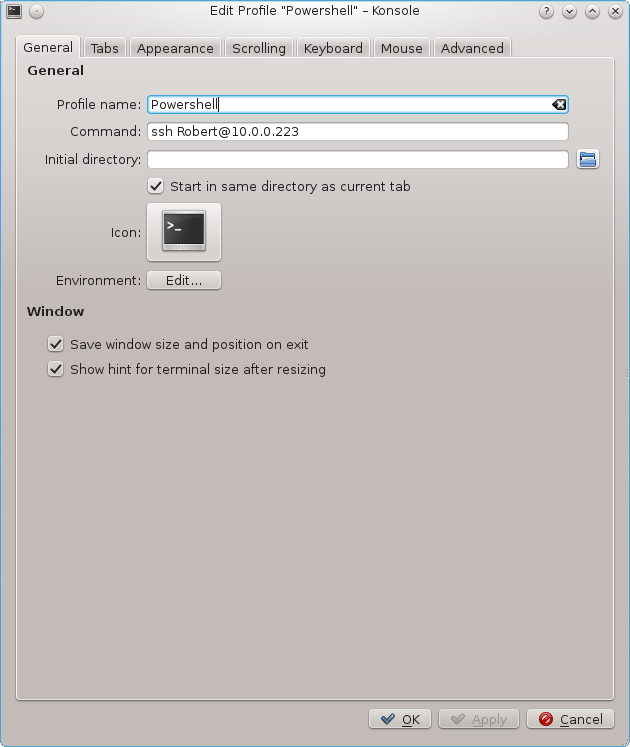
Setting up a profile in Konsole on KDE.
If your Windows account doesn’t have a password set, you’ll be instantly taken to your Powershell, otherwise, SSH will ask you for your password to log in.
Hope this tutorial helps make the lives of Systems Operations folk using Windows Azure on systems that aren’t Windows a little easier.
Cheers